Making of Raphael statue – Teenage Mutant Ninja Turtles – Tsaber
Hello everyone,
This post explains the making of Raphael statue from the Teenage Mutant Ninja Turtles / TMNT animation series and comic book. Just like many fans, I grew up watching the series and as a kid, I was crazy about the show. Raph was my favorite character since I loved his red theme color and the wicked sai he was carrying. I guess, kids love things for very simple reasons.
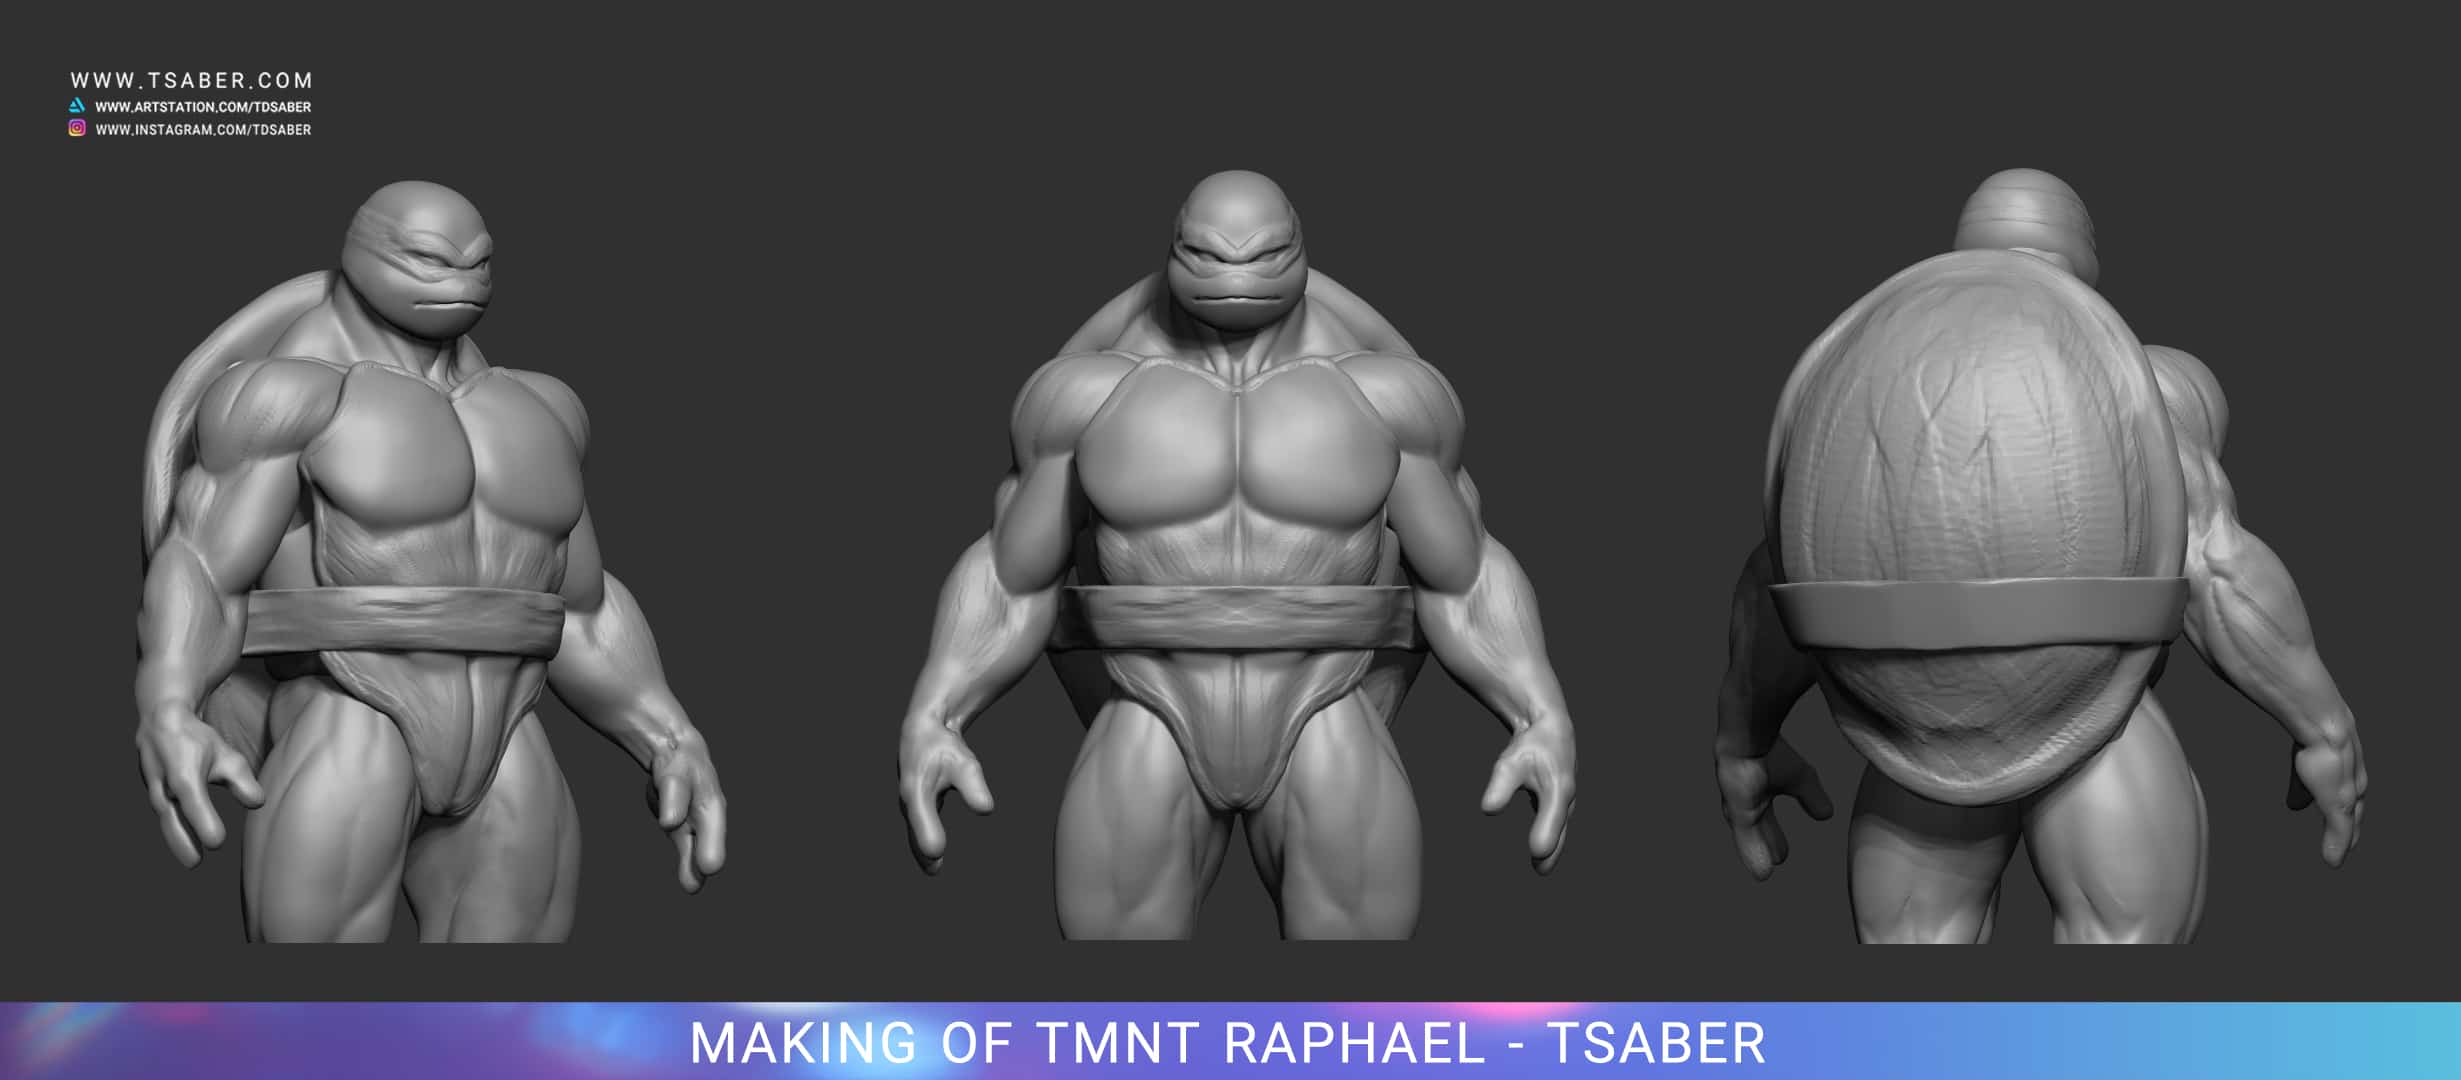
It was a long plan of mine to sculpt a 3d statue of Raph. I originally wanted to create a semi-realistic look of Raphael, to preserve the action figure look of the character. I started with the rough anatomy to find the right feel and proportion that could represent what I wanted to achieve. The ninja turtles don’t have the exact proportions of humans, therefore experiencing was necessary.
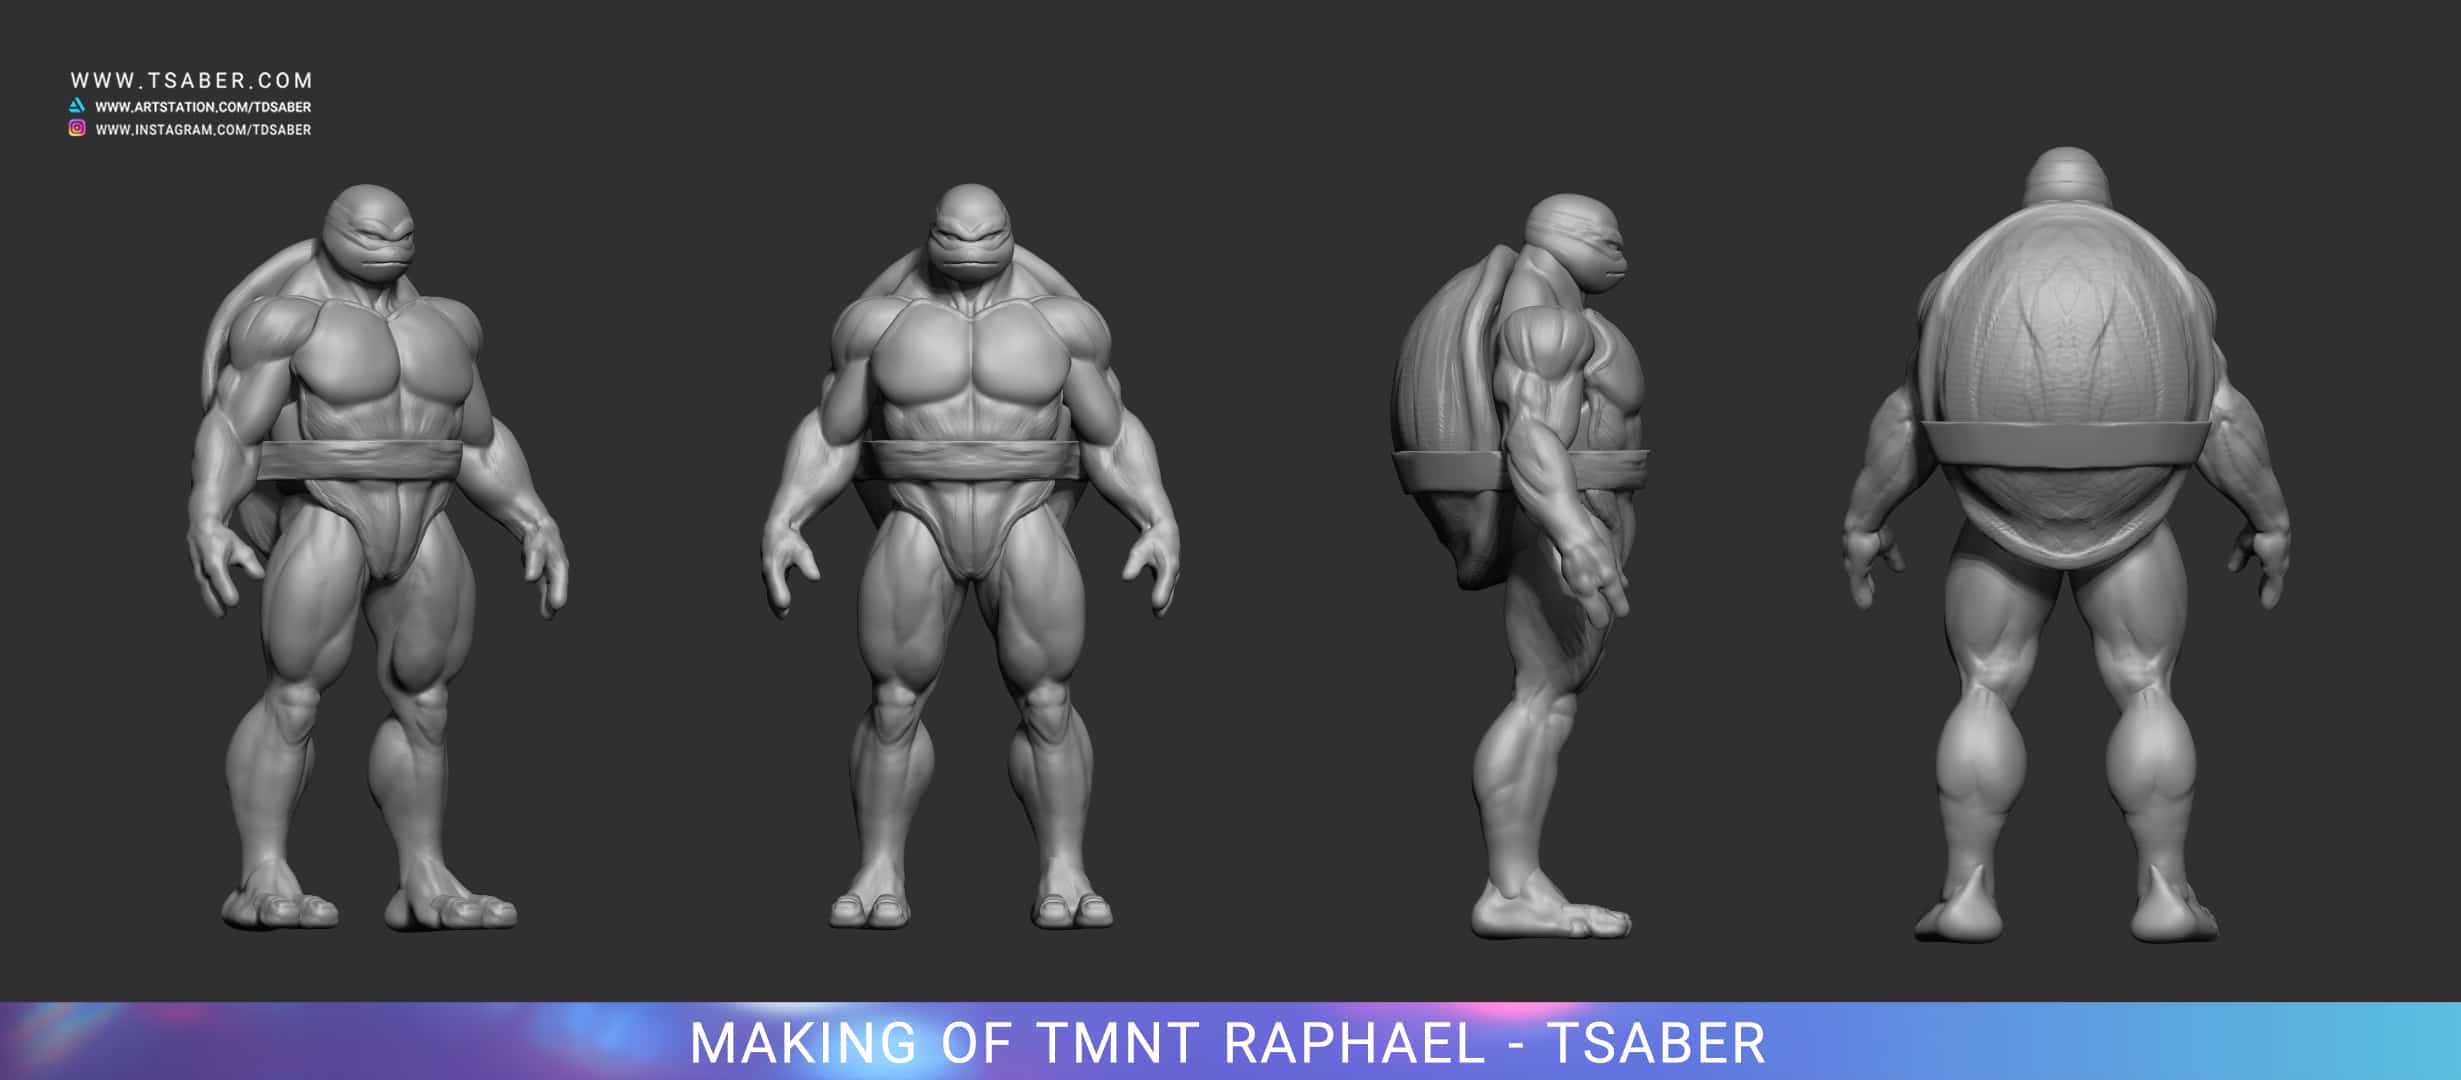
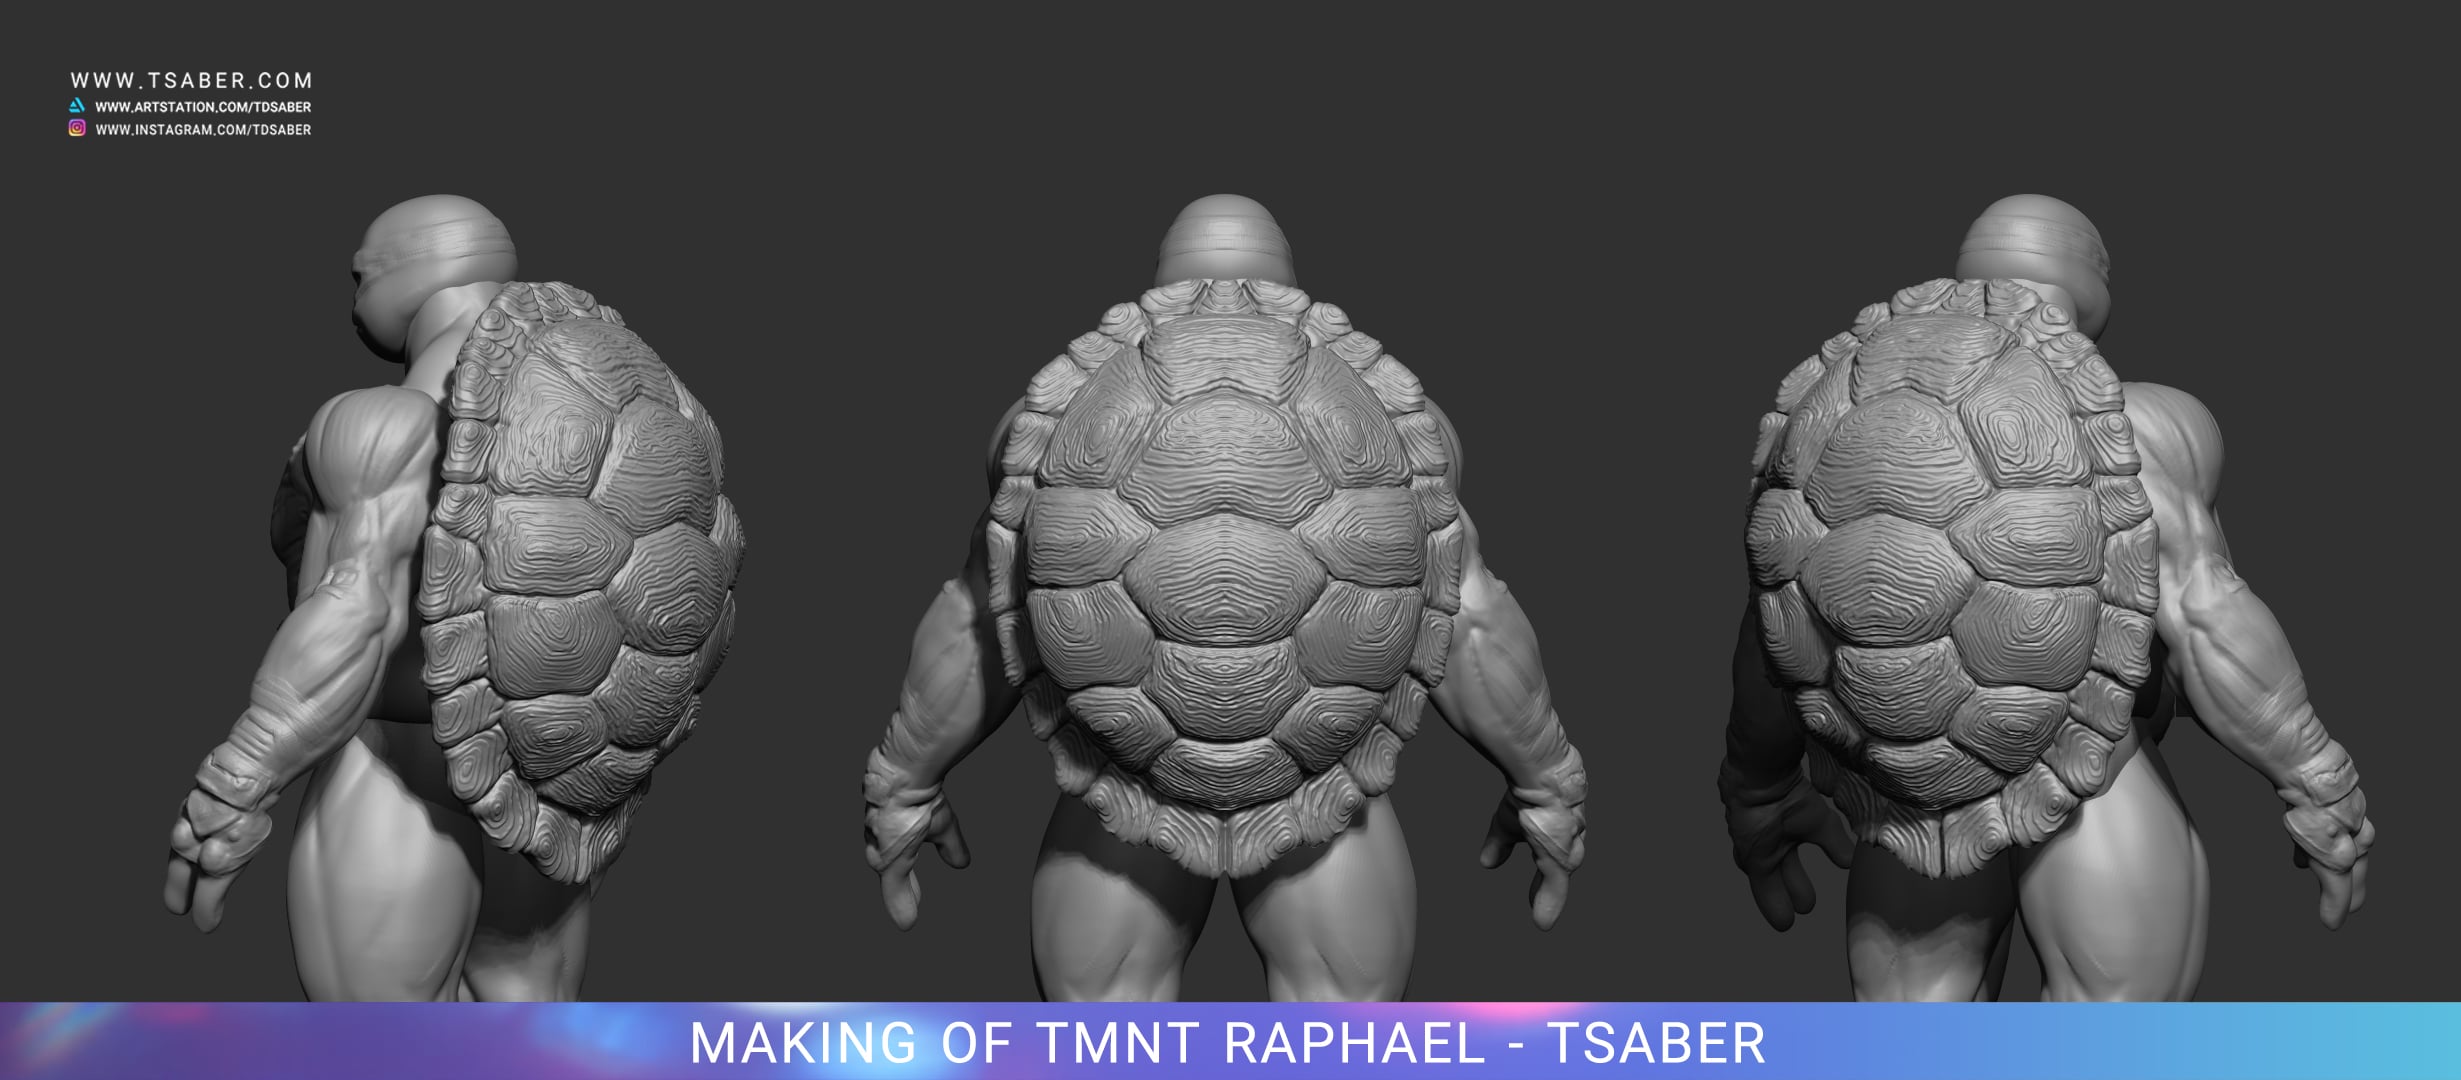
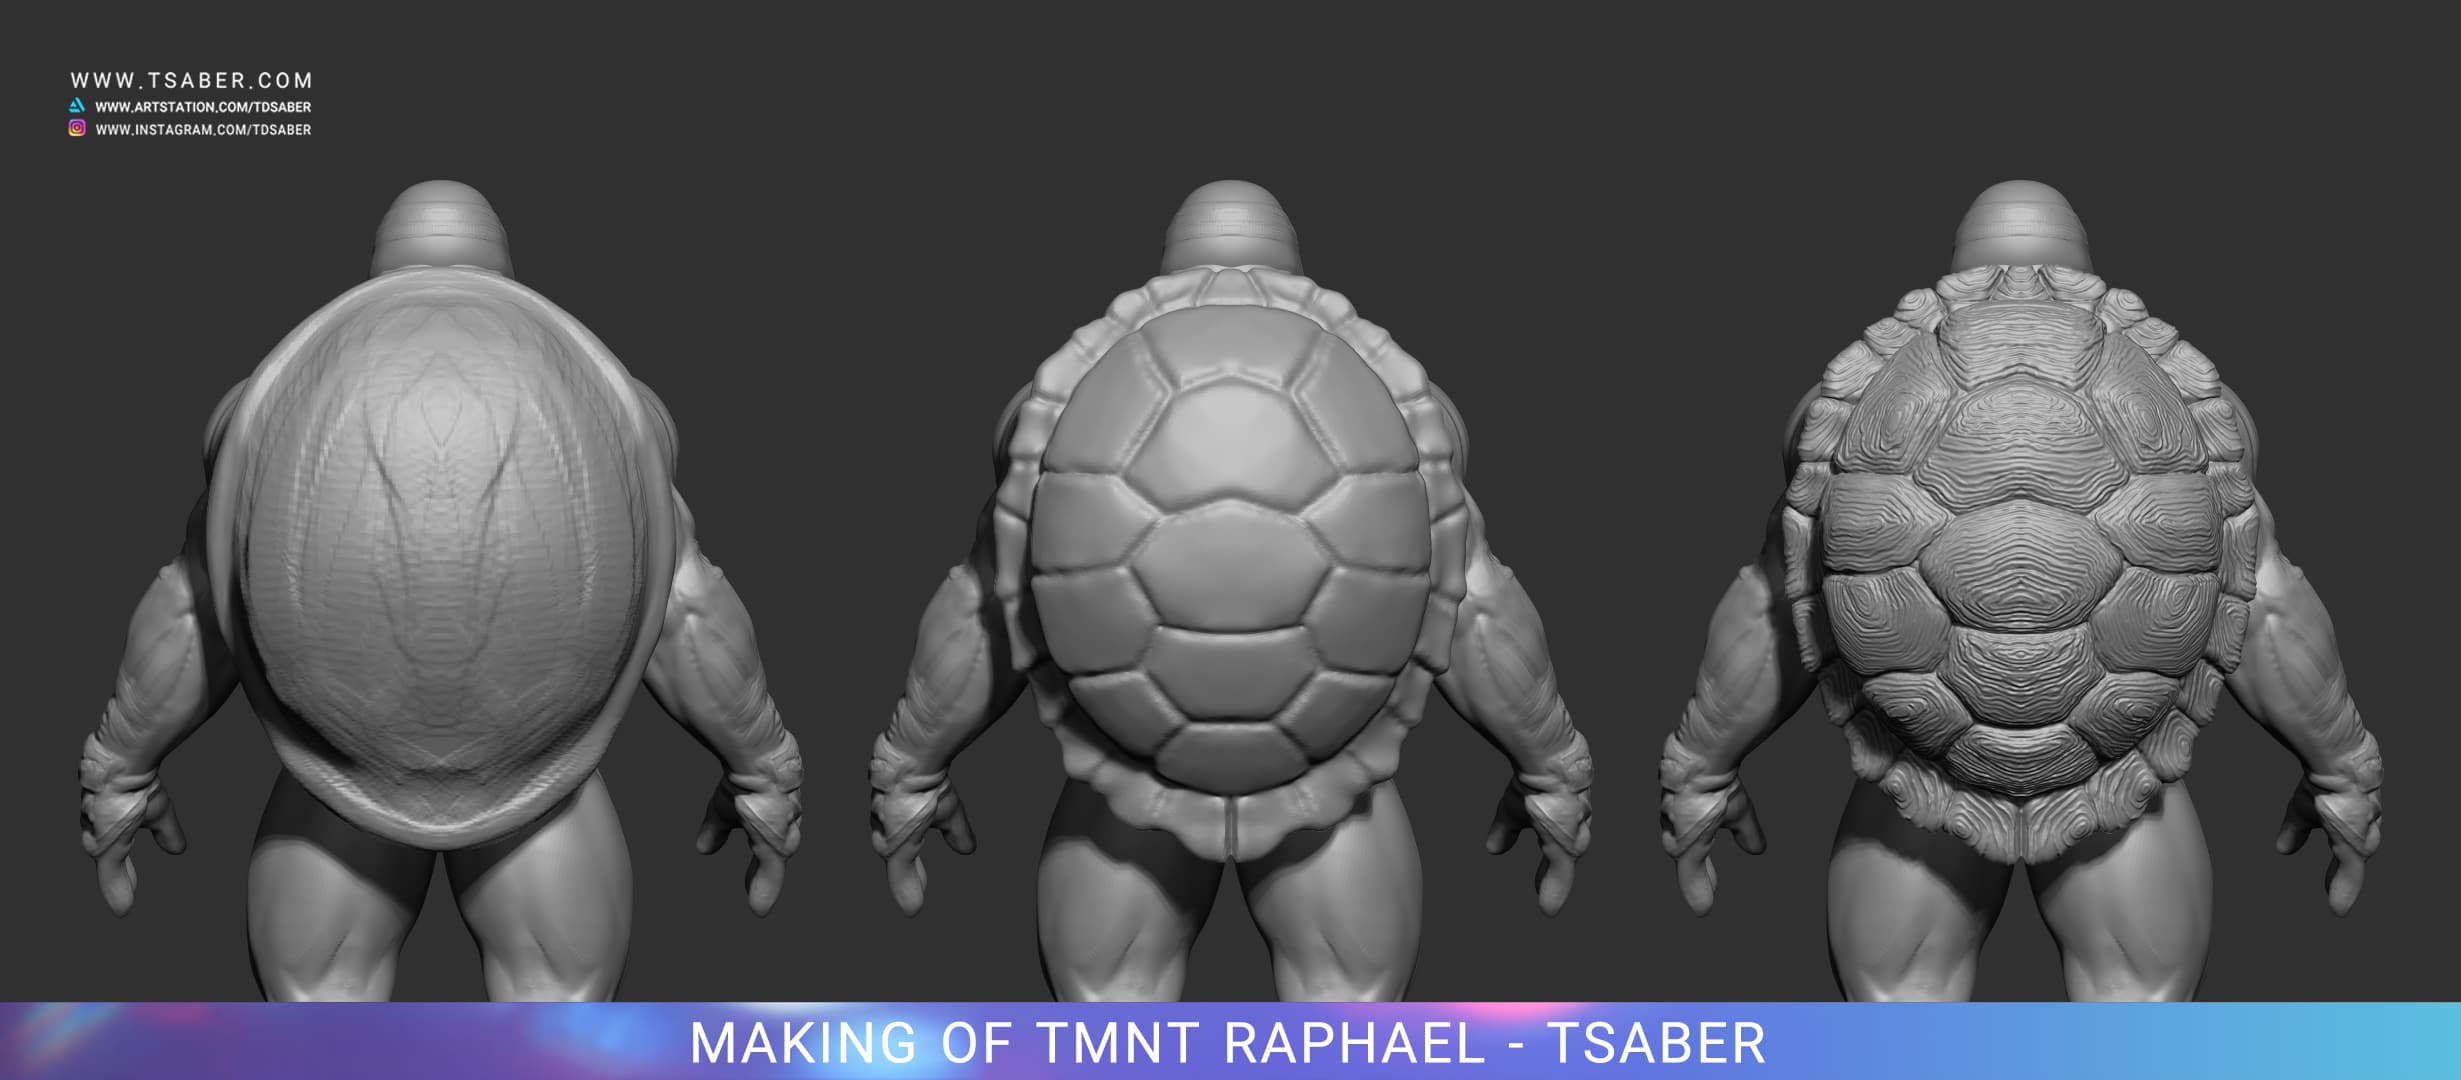
After finalizing the general anatomy shape, I start with defining some details, such as Raphael’s shell. In the world of TMNT each turtle is specified by a unique different shell. The shells act as extra values and characteristics. As I followed the original design, Raphael has a simply typical shell. I decided to follow the same direction, however, I’ll experiment further with the colors.
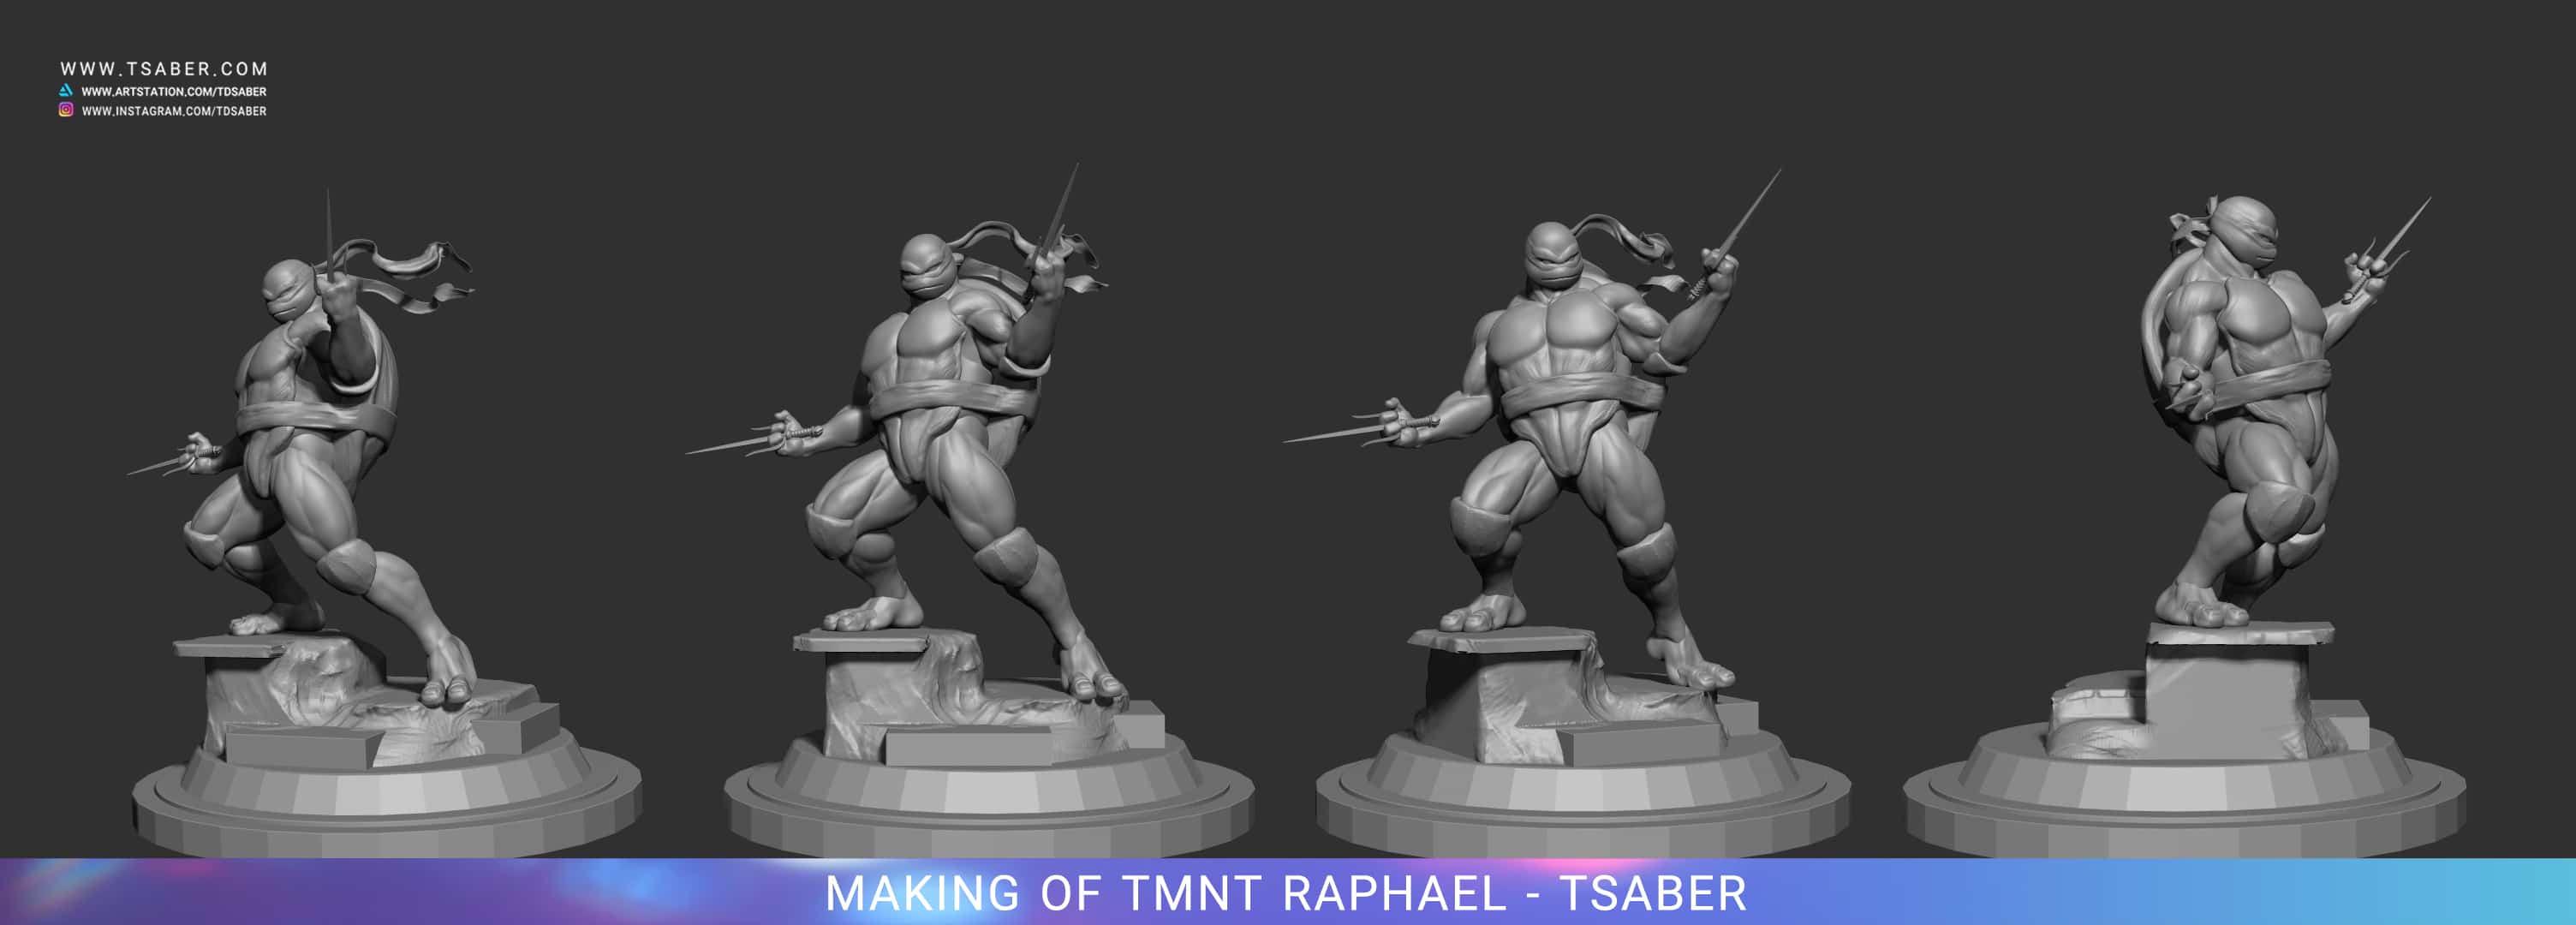
The next major step is posing. There are really good statues of Raphael and other teenage mutant ninja turtles; therefore the goal is to create a pose that it will be different. As always I start very simply and I try to figure out what’s the best Silhouette for the statue. I strongly believe the base design is very vital to the statue. There are amazing sculptures, while the base doesn’t compliment the character.
Thank you for reading this article and I hope it was helpful.
Sincerely,
TSaber
Related Pages:

